2022-2025 Subaru Outback Wilderness brackets installation guide
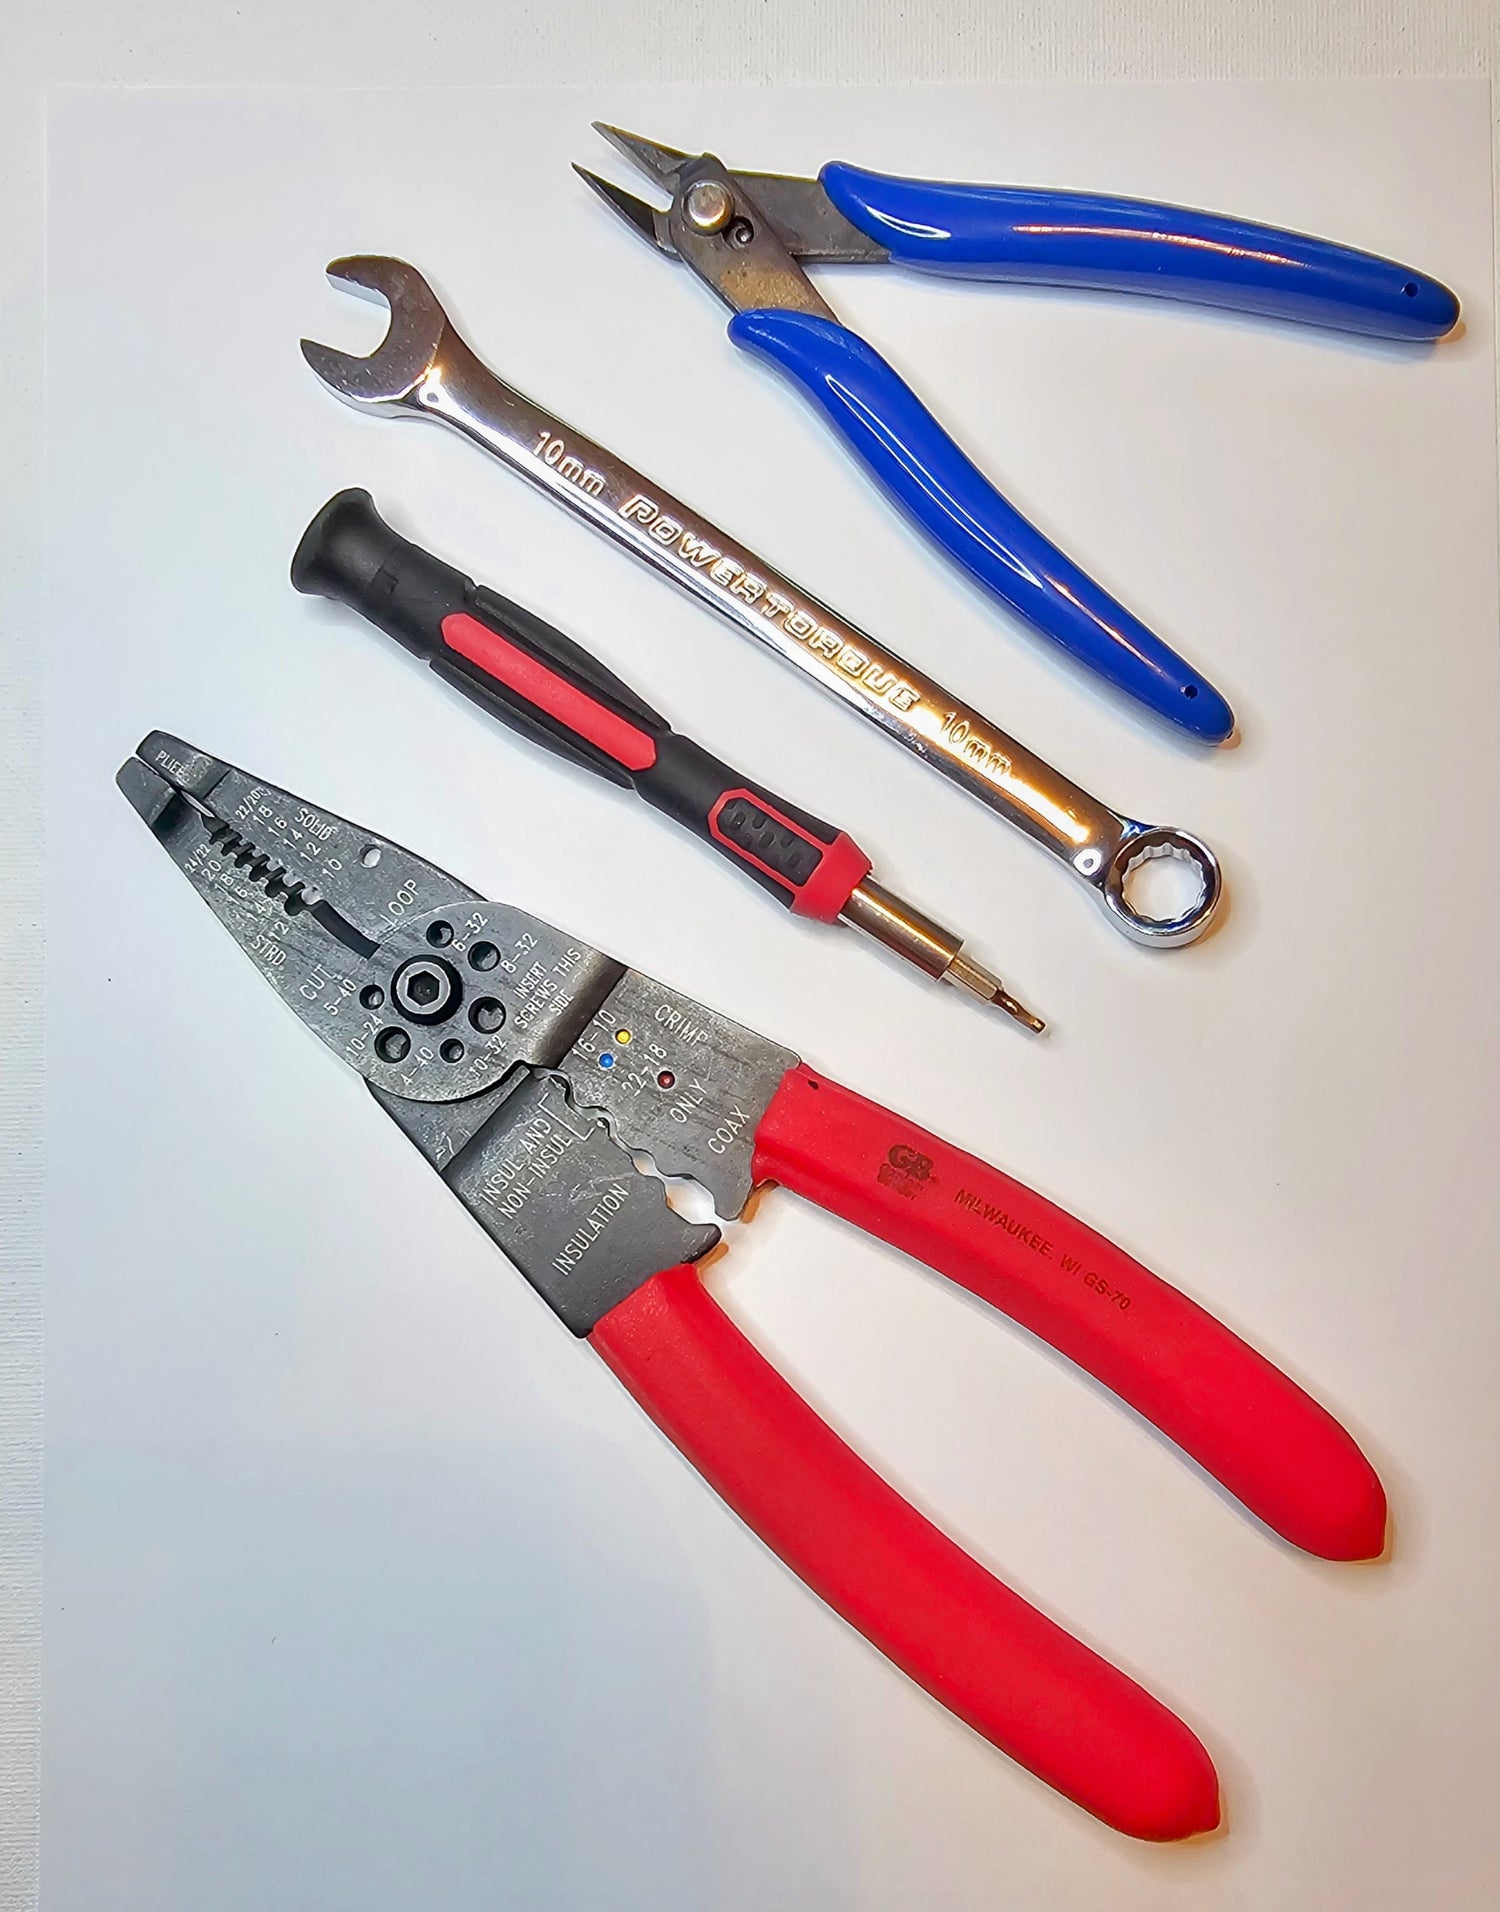
Tools required
- M10 wrench or socket (for connecting O-ring to the ground);
- 2mm hex screwdriver;
- Pliers (maybe);
- Scissors or any kind of cutter (to cut zip ties);
Step 1:
Getting ready
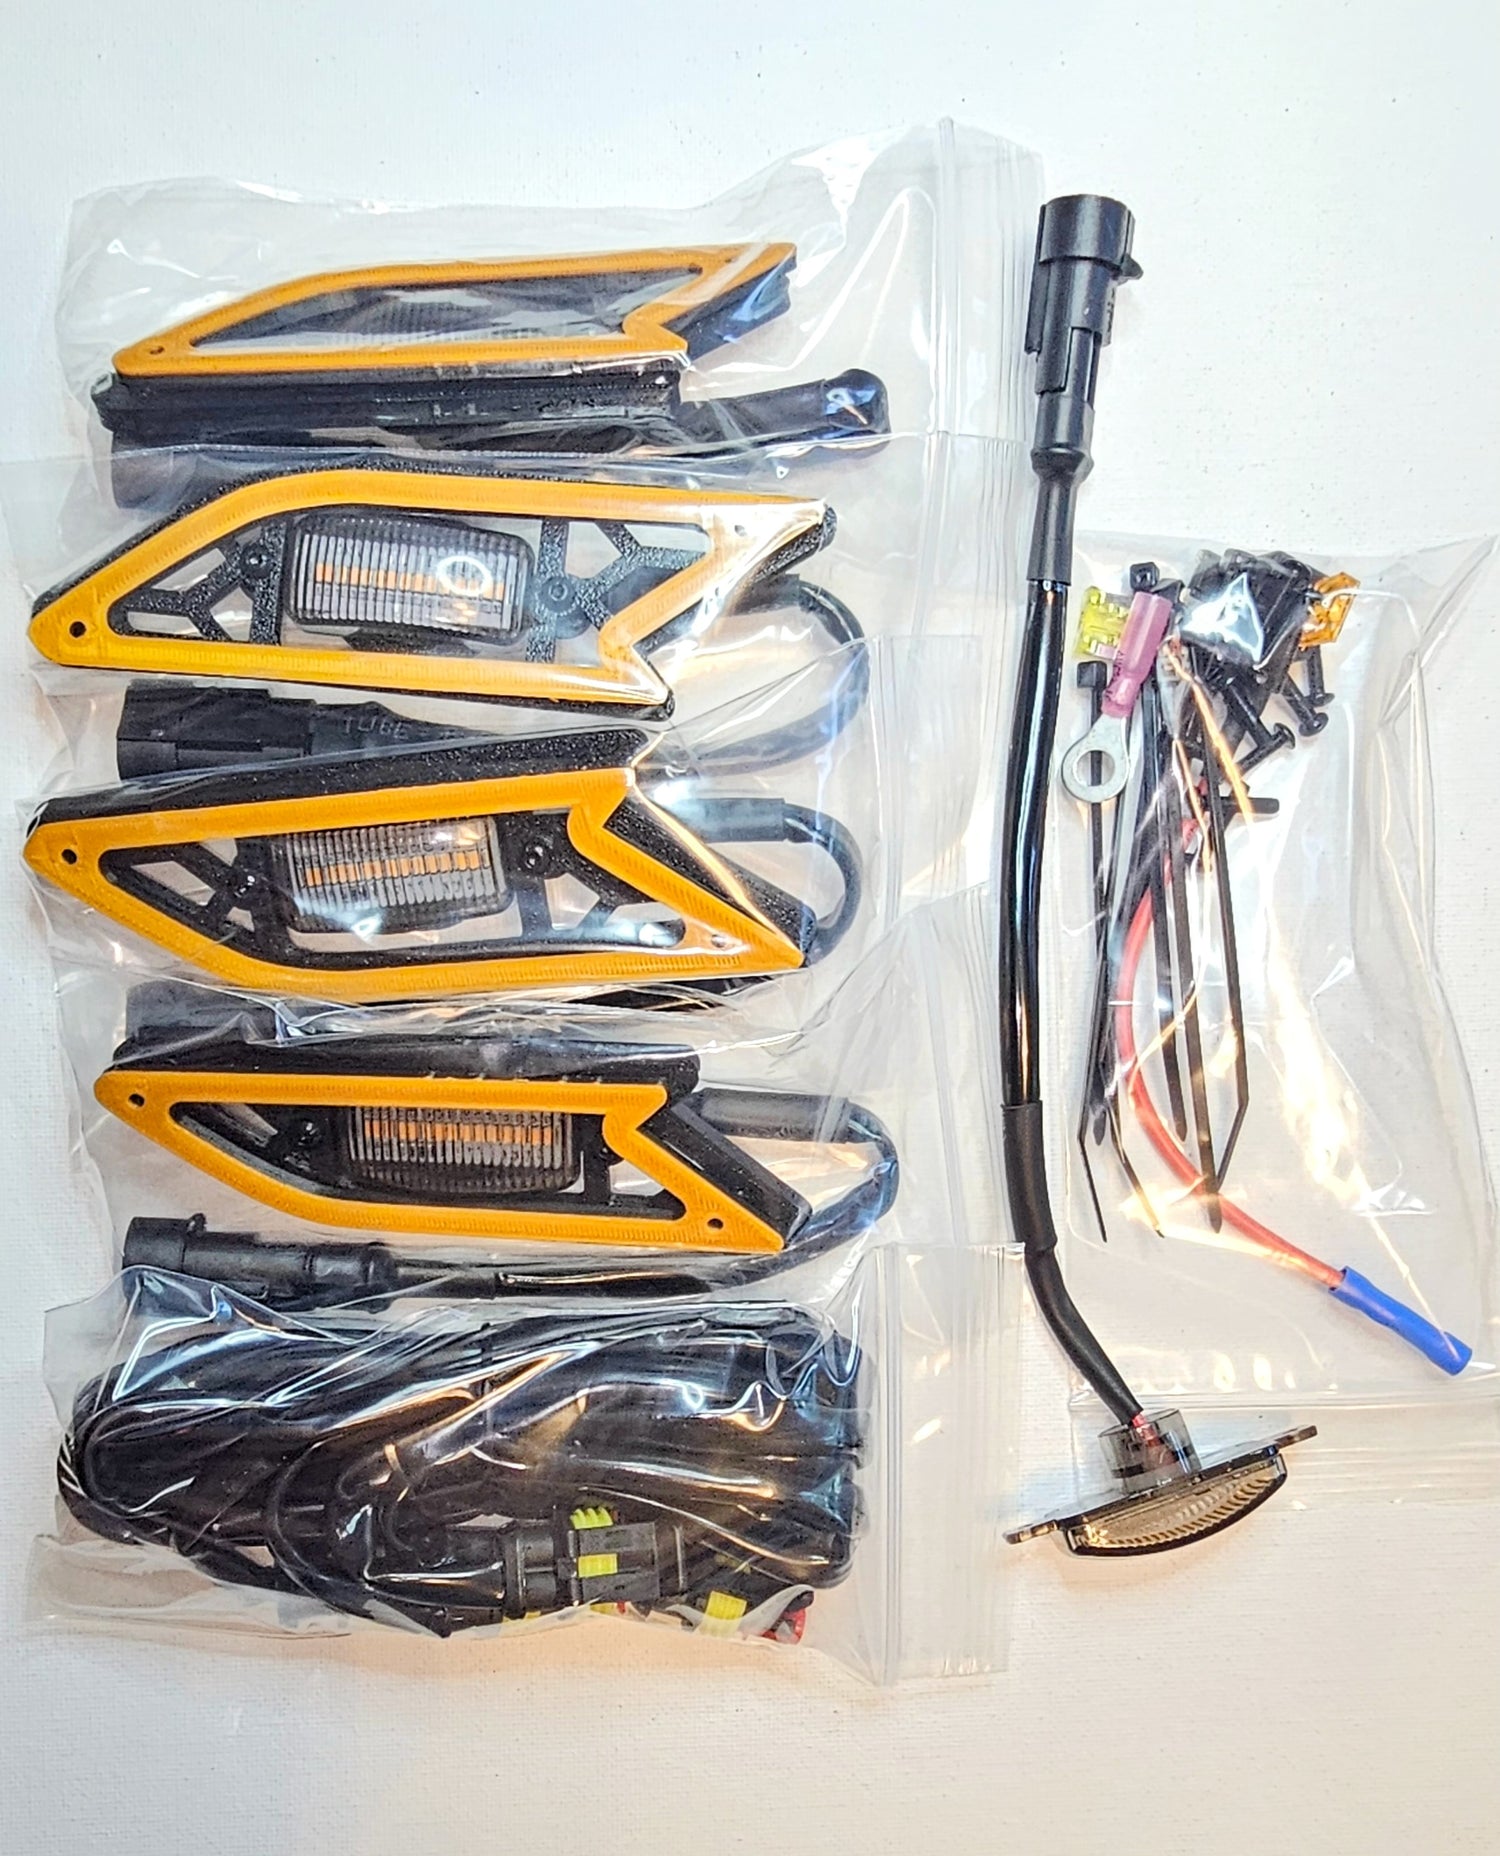
Make sure all parts required are in the box and nothing is missing;
Box content:
- Preassembled shells with LED attached - 4 units;
- Wiring harness - 1 unit;
- Bag of supplies: Zip ties/O-ring/Fuse tap/fuses/M3 screws;
- Spare LED bulb;
Step 1.1:
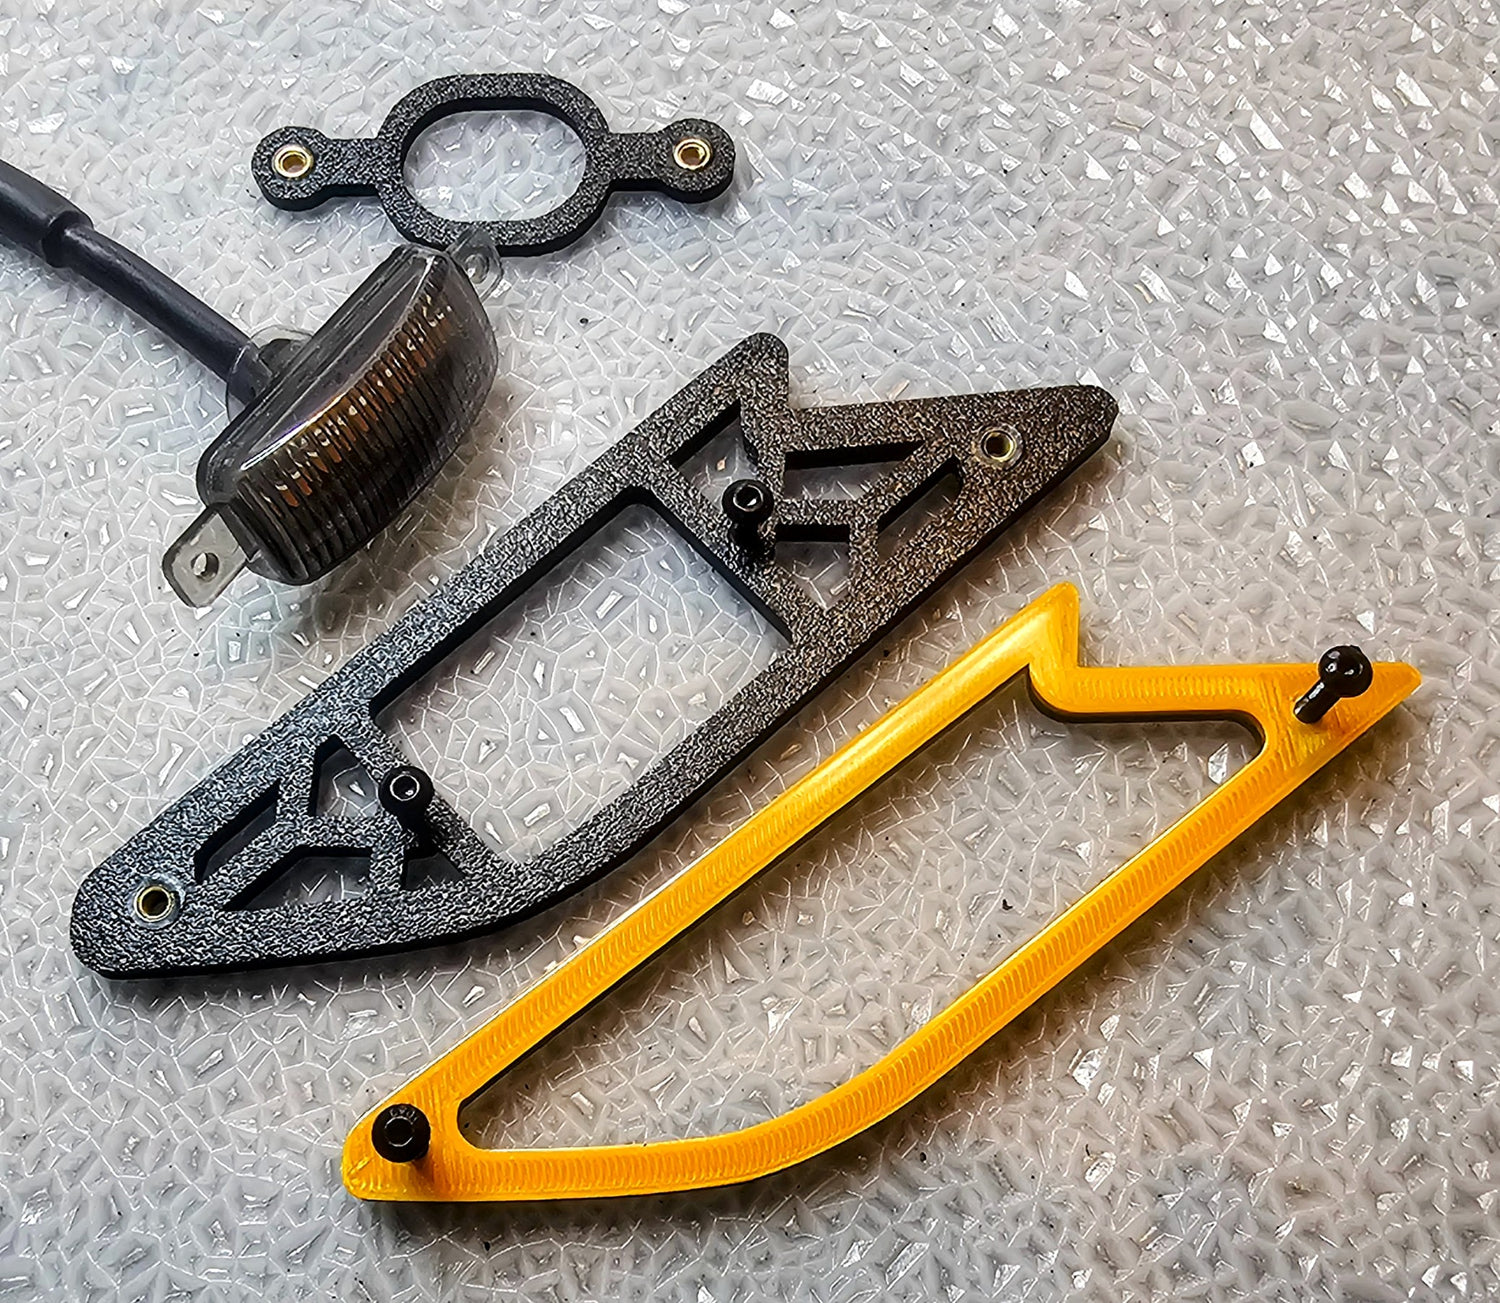
How to assemble brackets (22/23 OBW)
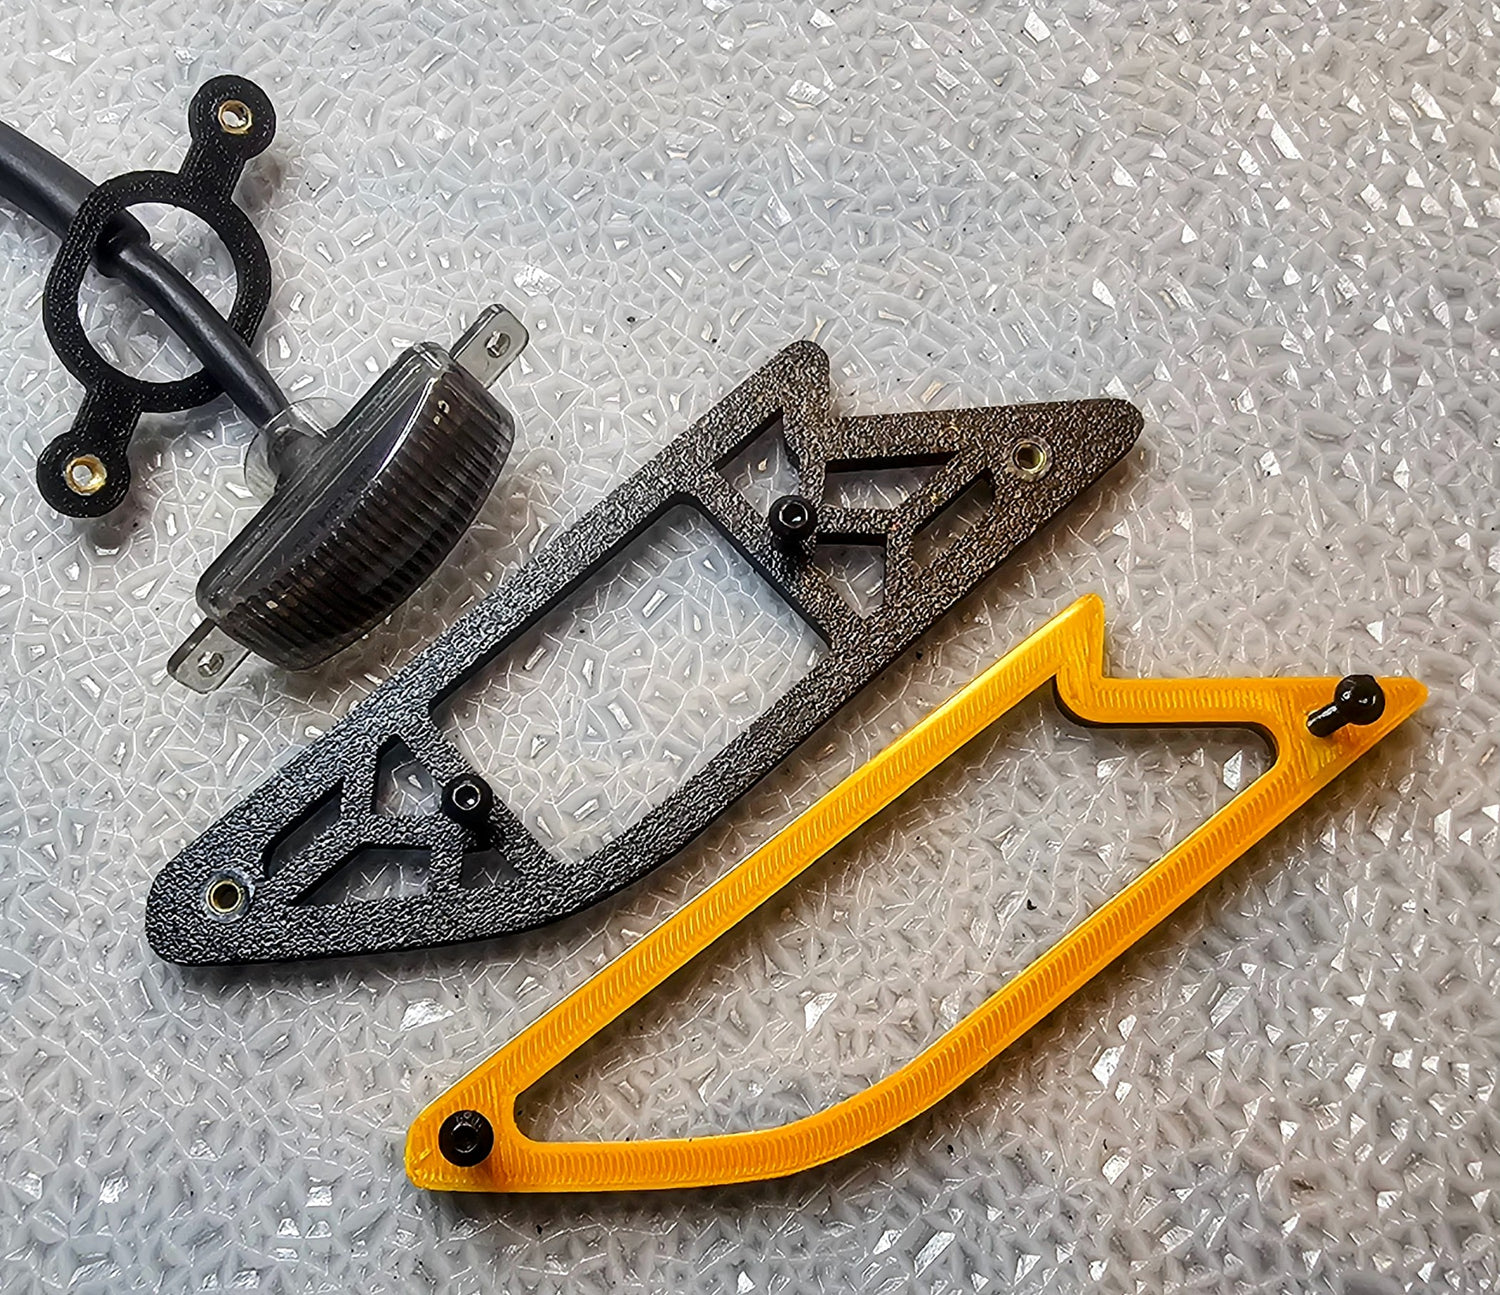
Images below demonstrate how to assemble brackets if necessary;
Note: Since the shells are delivered pre-assembled, skip the Steps 1.1 to 1.5 and begin with Step 1.6;
Step 1.2:
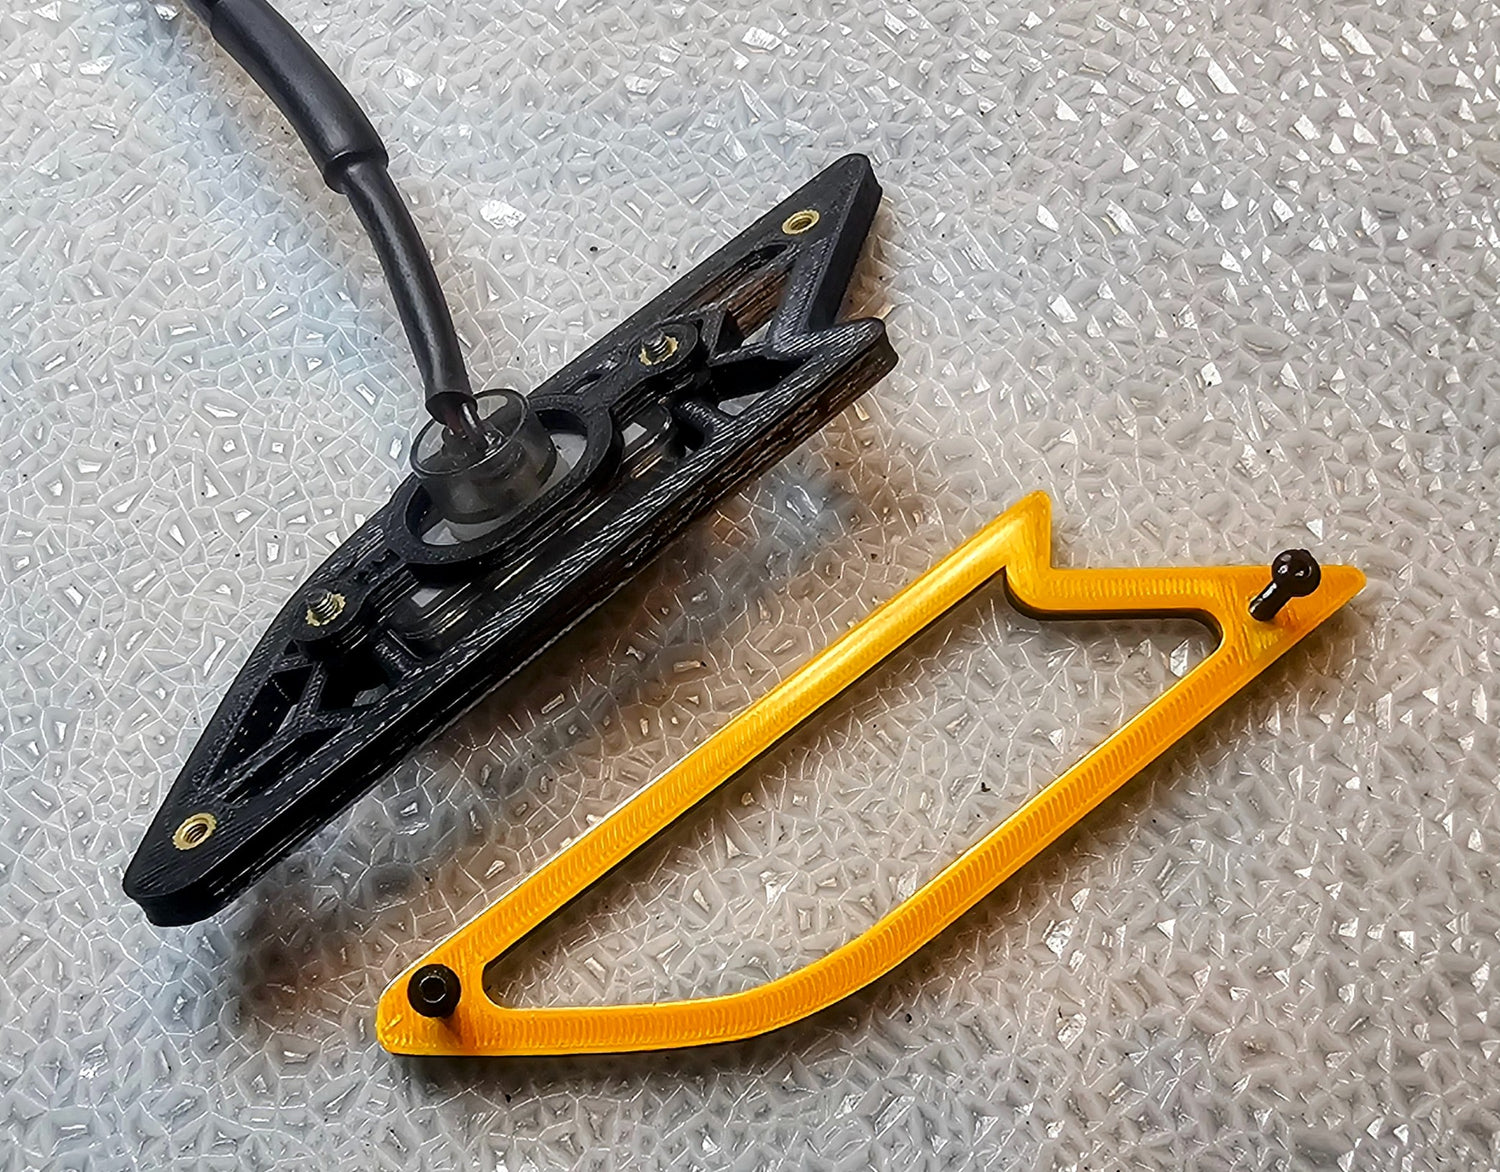
Step 1.3:
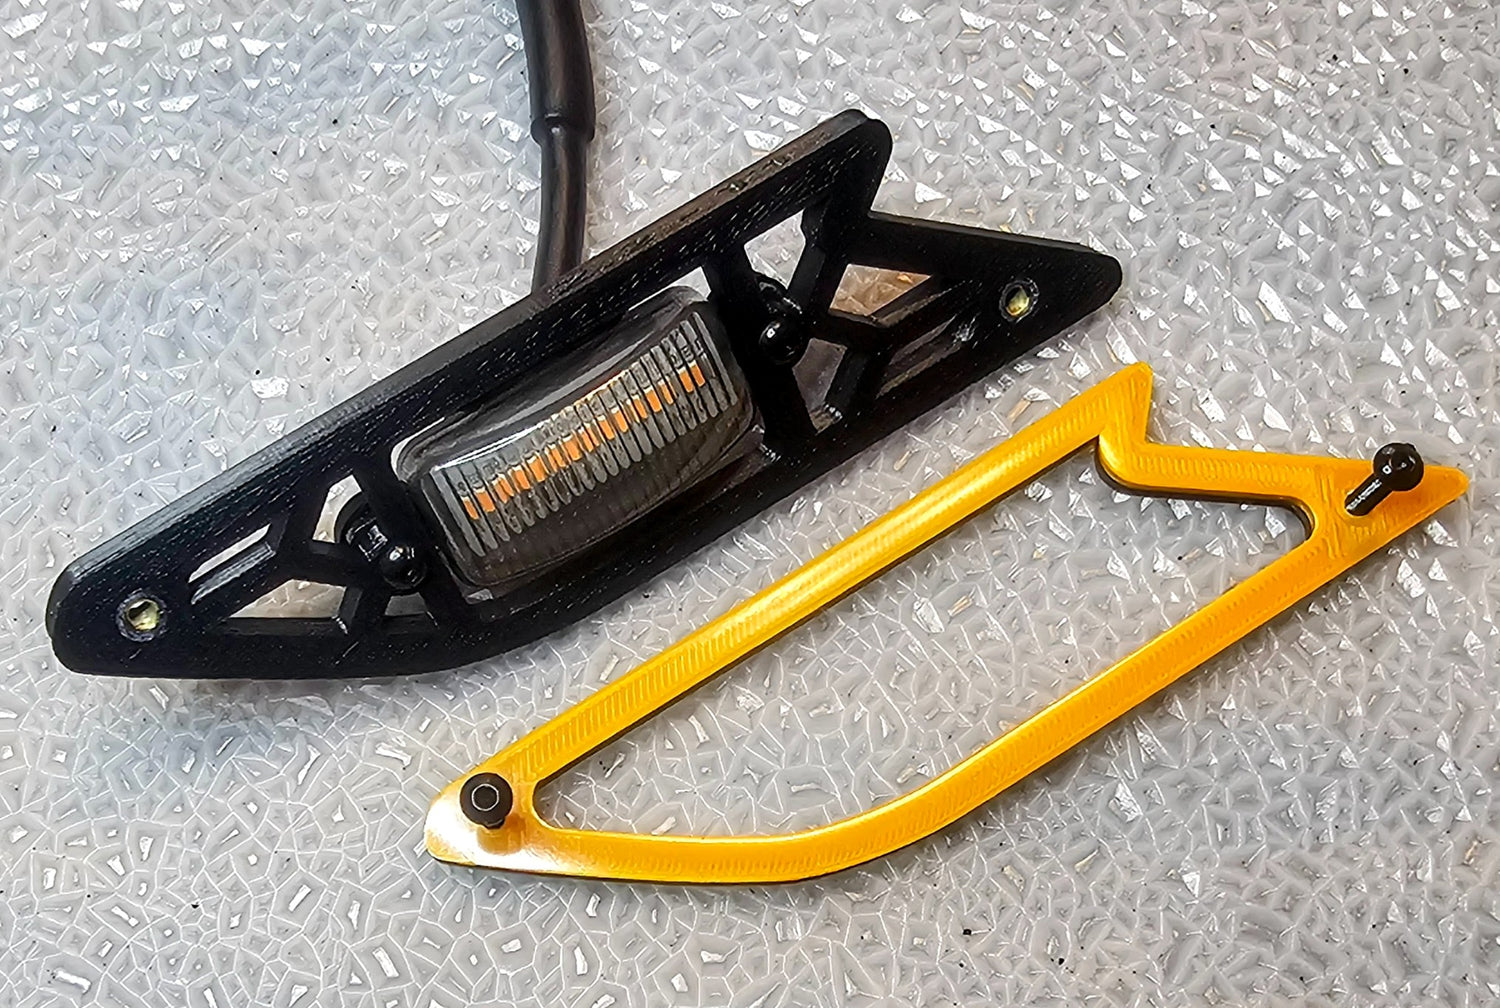
Step 1.4:
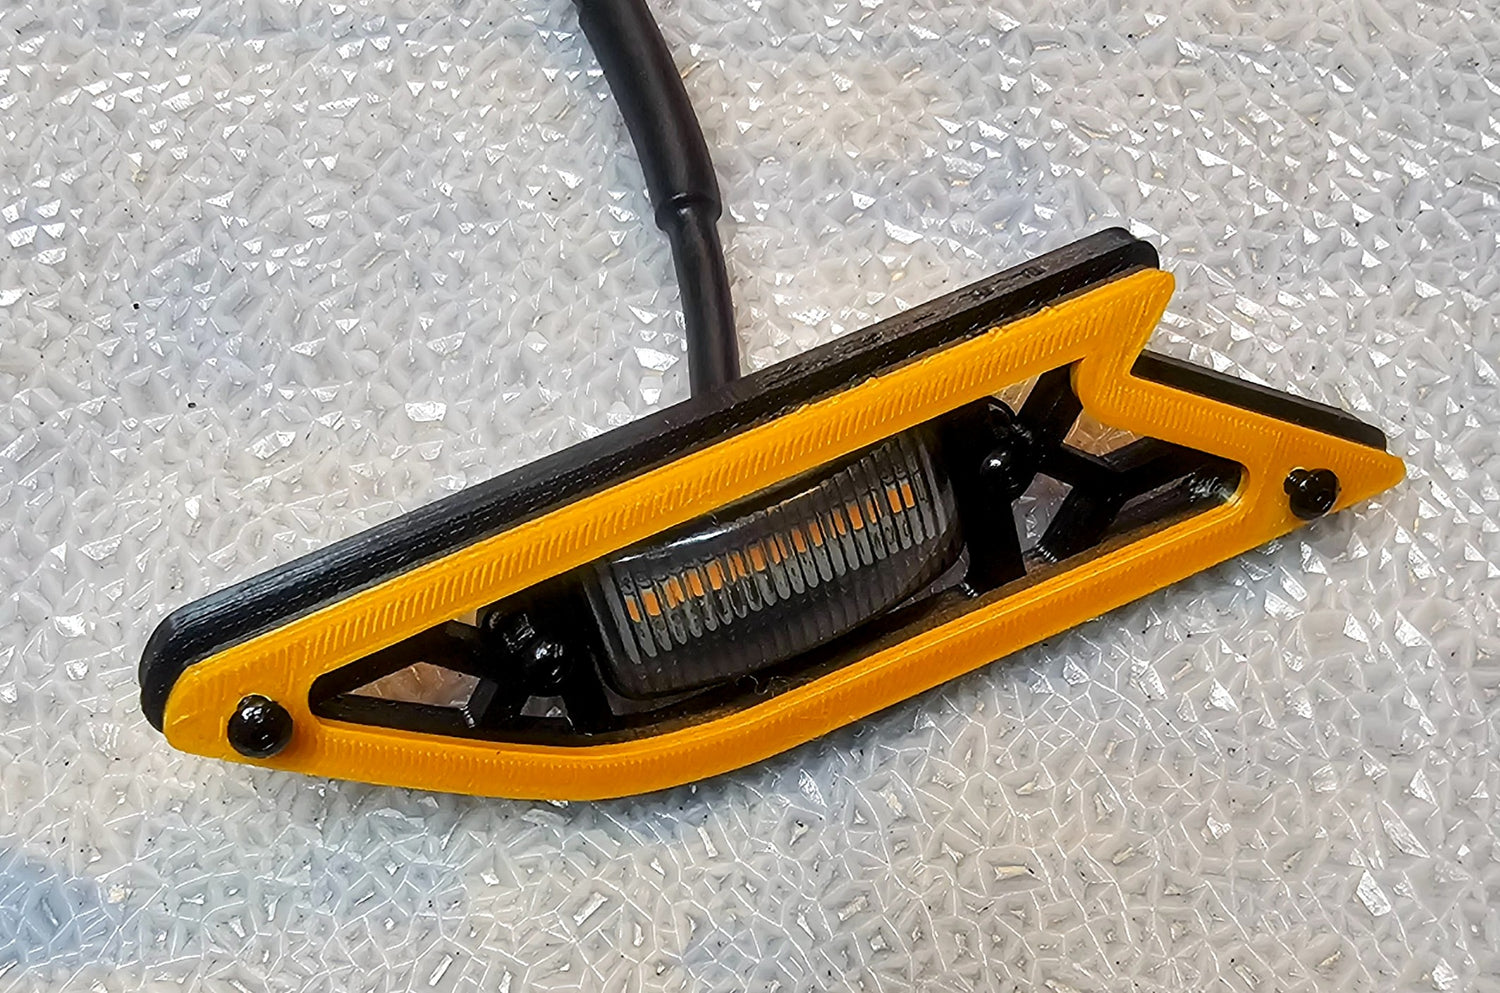
Step 1.5:
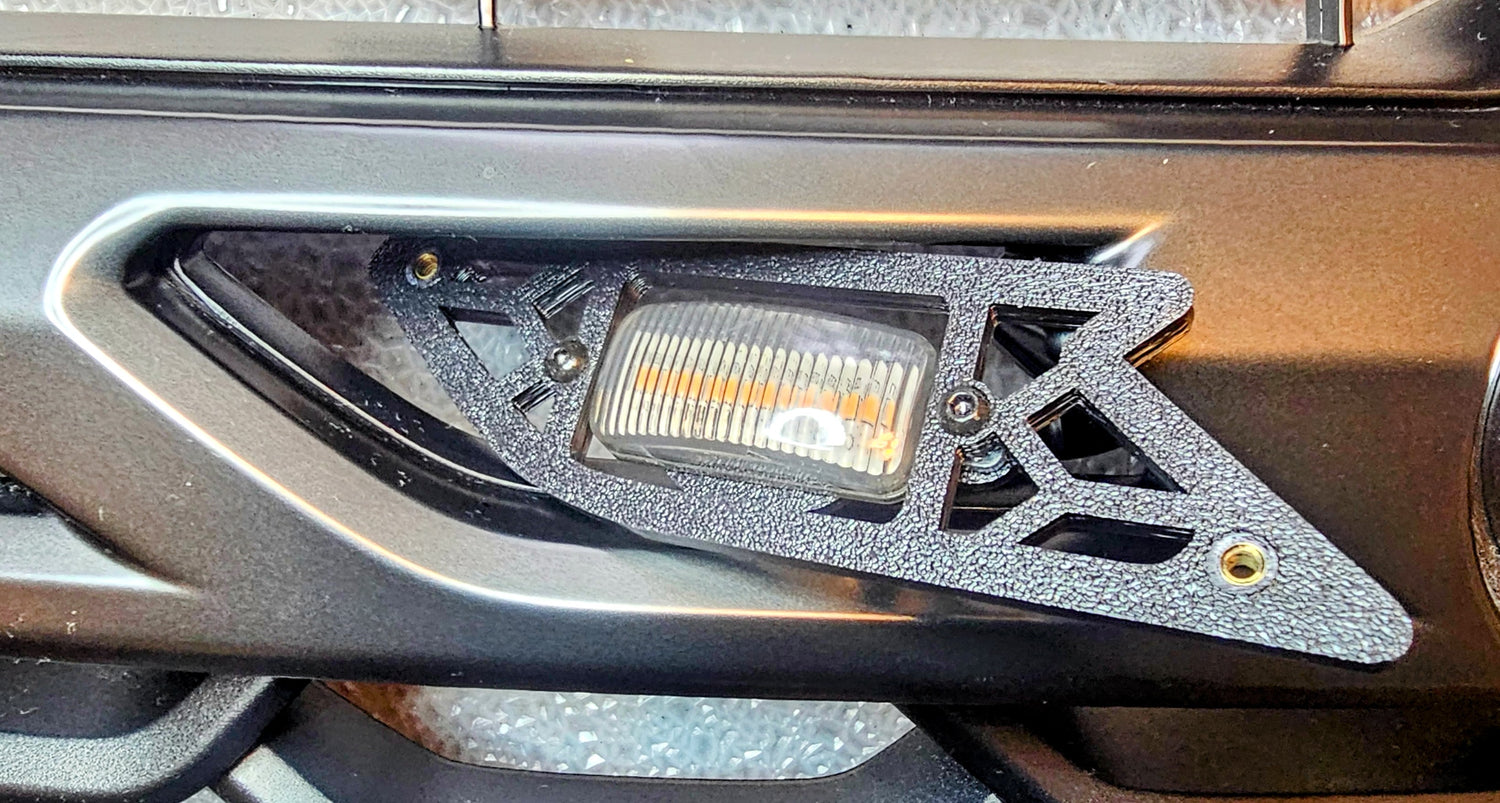
Step 1.6:
How to install brackets (22/23 OBW)
- Thread the LED wire inside the grille cell;
- Tilt the Base plate so it could be positioned inside grille structure;
OR:
- Open the hood and position the base plate with LED behind the designated cell against its walls;
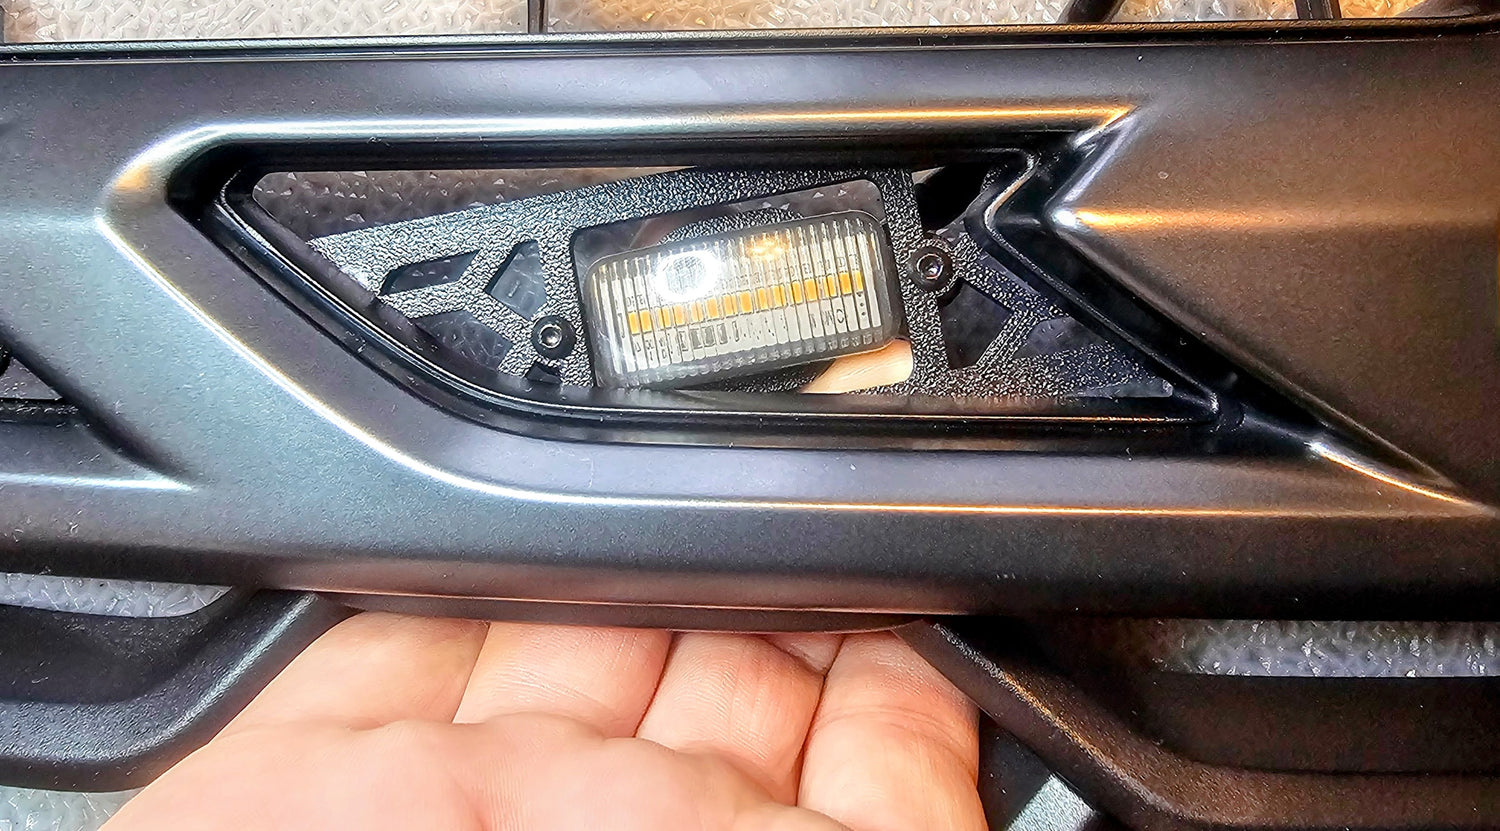
Step 1.7:
- Position Inner Base plate inside grille cell structure;
- Keep it in place with your fingers as there is nothing to affix the base;
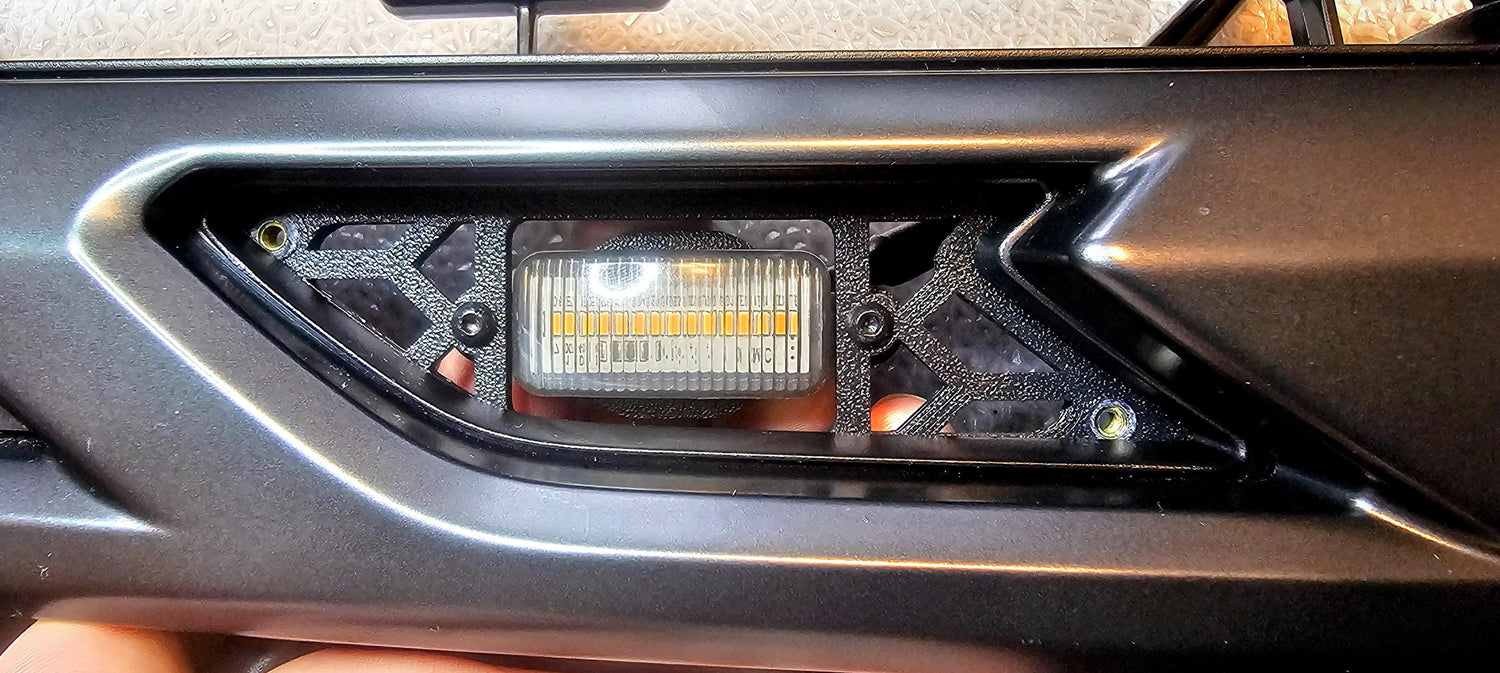
Step 1.8:
Align the Inner Base plate with the grille cell so the nuts/inserts would be clearly visible and easily accessible with the next step;
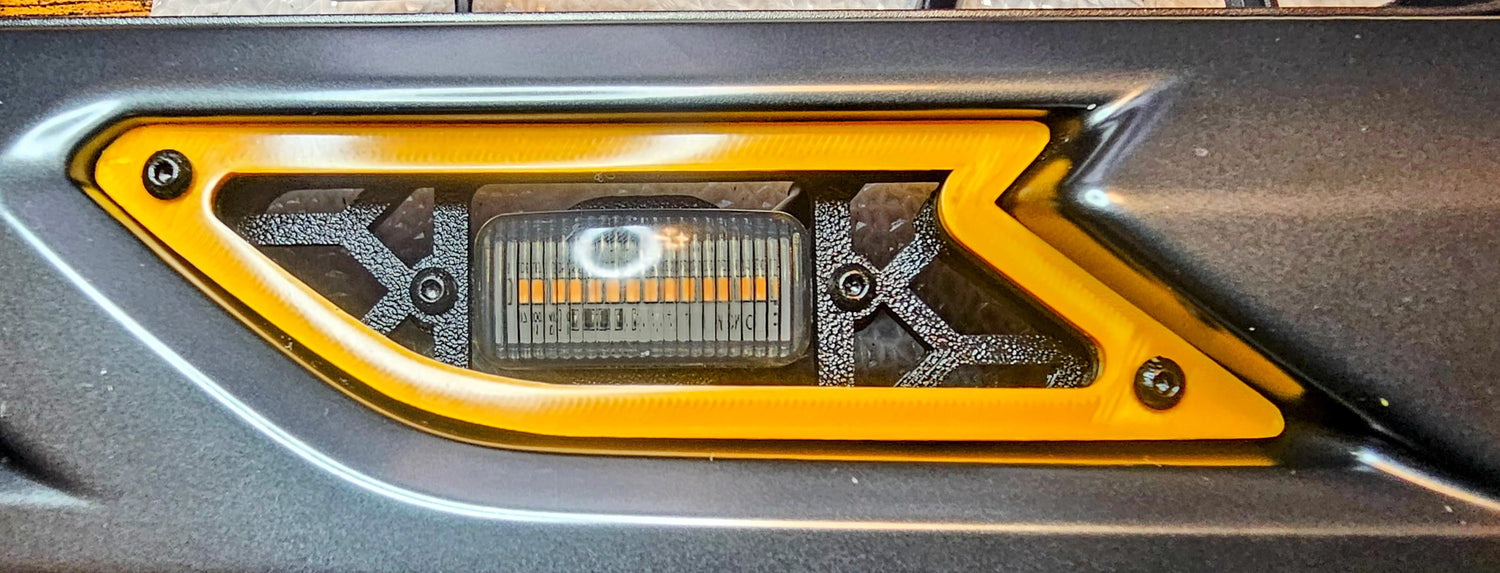
Step 1.9:
- Put Outer Insert into the cell from outside, align pre-threaded screws with the nuts/inserts from the previous step;
- Start tightening gently;
Finger tight is plenty. Just make sure screws did not get lose after driving around a little;
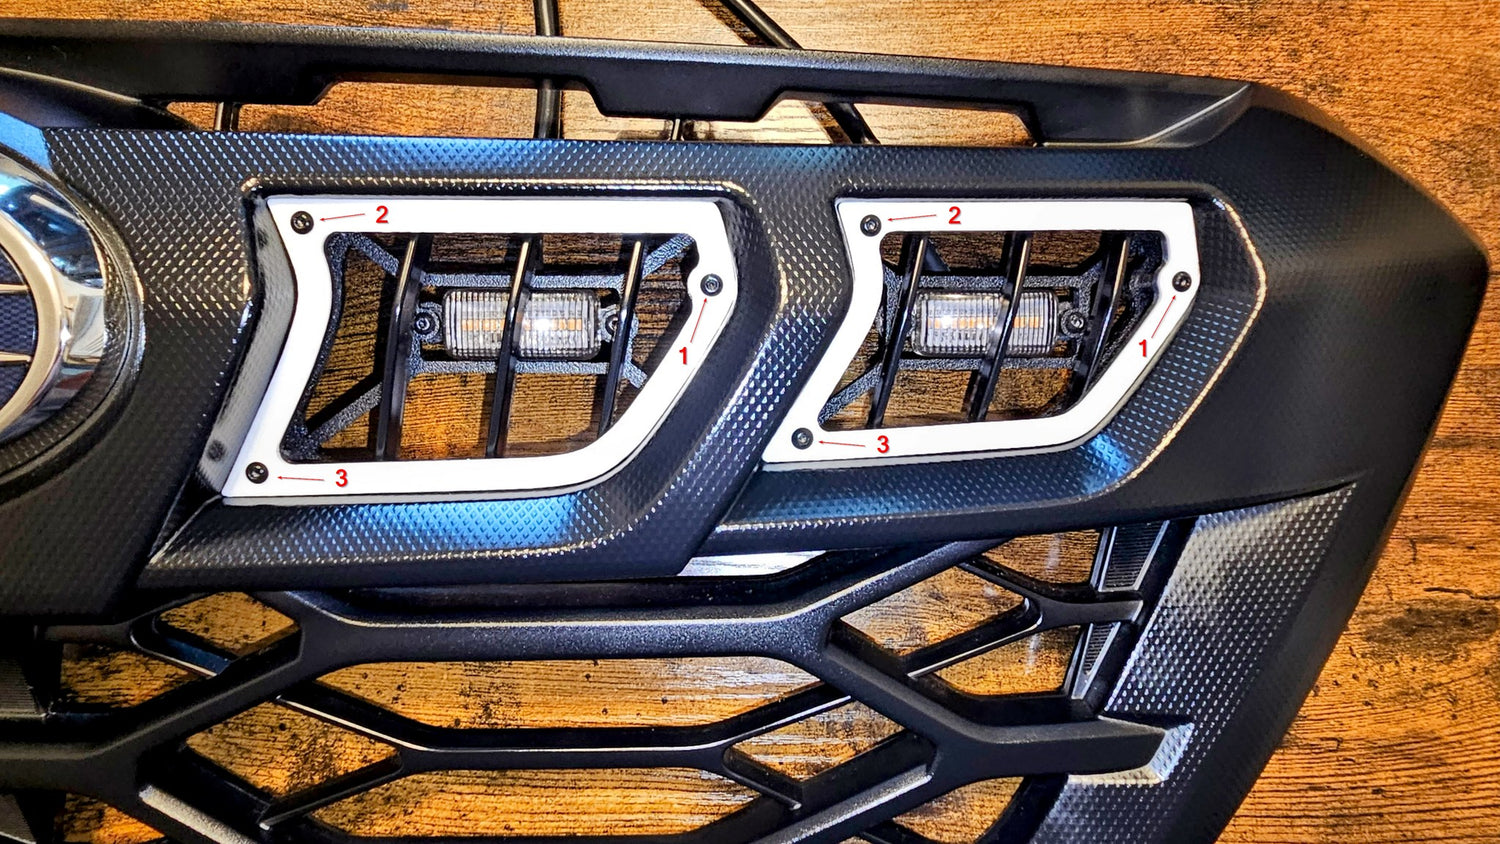
Install brackets (24/25 OBW)
The installation process is similar to 22/23 OBW/FW. 2024 shells are bigger in size and each shell has 3 screws.
Outer frames are made with bumpers/channels (not visible on this image) where the screws are hidden from the elements.
These bumpers would not let you to tighten the screws excessively.
All screws need to be tightened symmetrically and only when almost done, follow the sequence shown on the image. Finger tight is plenty.
In the end you should see how outer shell slightly flexes around the grille cell fins and nests itself in the cell.
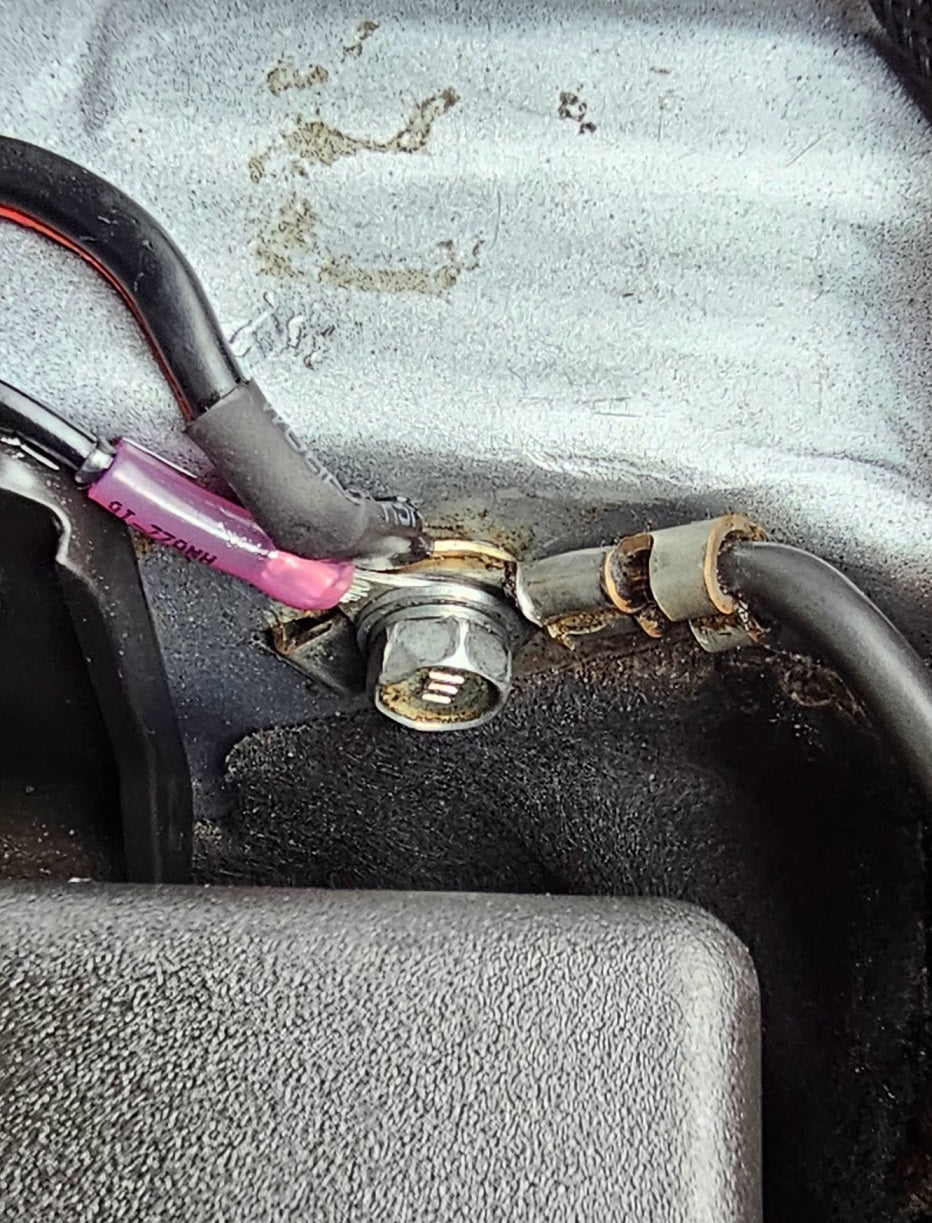
Wiring
- Refer to the fuse tap setup guide;
- Route wiring harness along the driver side pillar toward main fuse box;
- Install the Fuse tap adapter;
- Connect O-ring connector to the car body (ground);
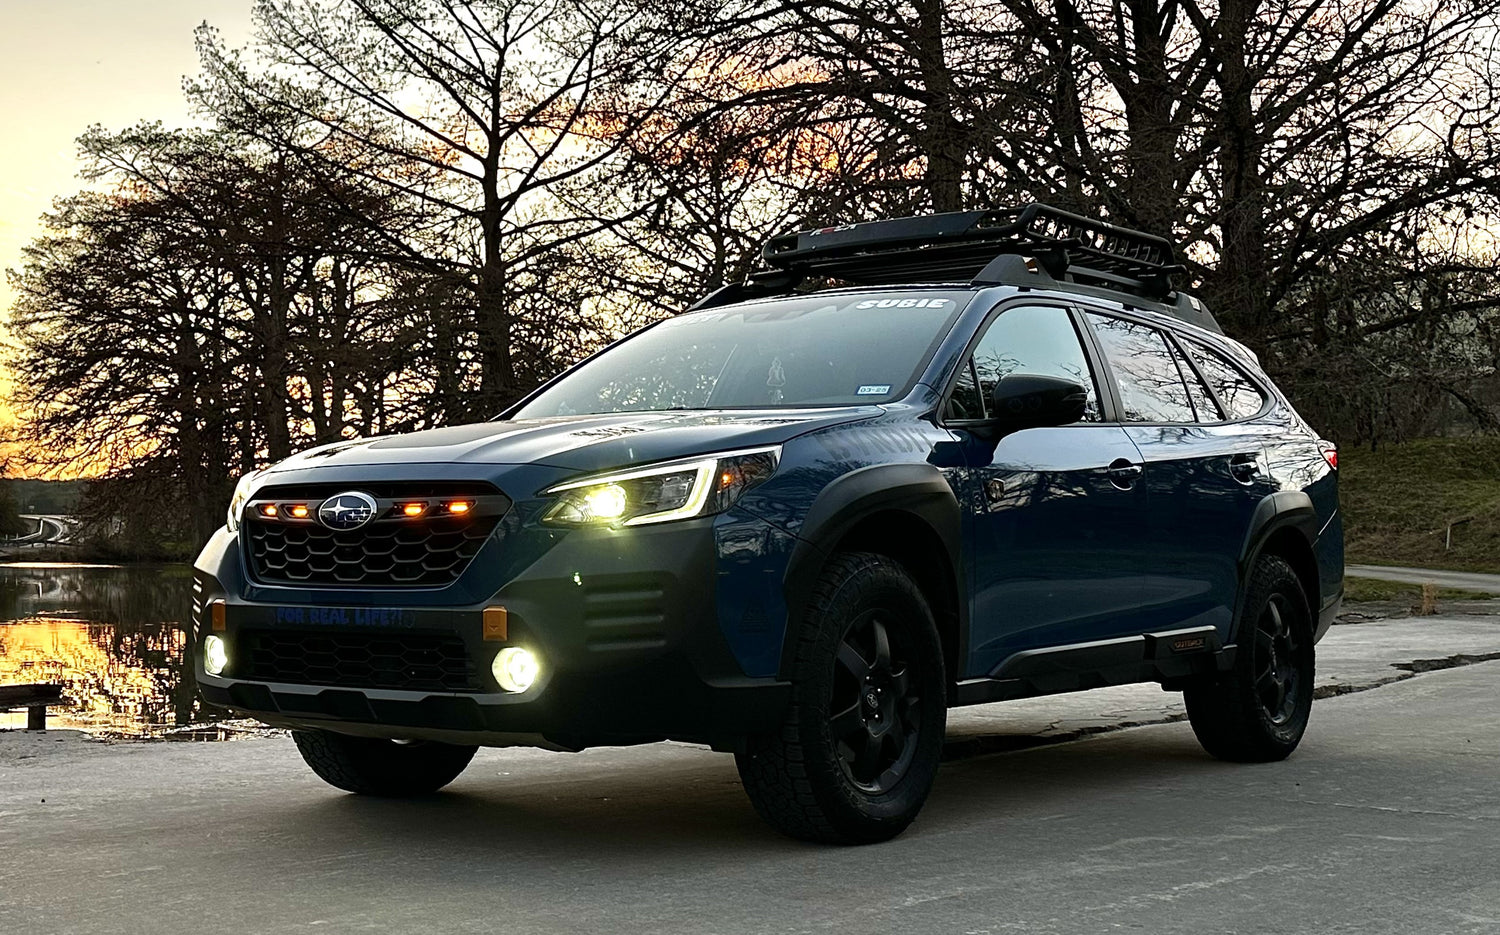
Done!
- Turn ON the ignition and make sure the LED are up*;
(*) - do not start the car at this point; - Once assured that the install is successful, close the hood and enjoy the new look of your vehicle;
